A Roman Praetorian brought to life, from sketch to interactive 3D.
This project was born from the idea of bringing a character to life, not just as a static character, but as a fully interactive 3D experience, to give a glimpse of what you can do with 3D. To show all possibilities, I decided to pickup a complex concept on purpose. As a fan of History, I chose to go with a historical archetype, the Roman legionary.I show you here the complete creative journey: character creation, digital refinement, 3D modeling and finally embedding the character in a public web viewer.
3D Praetorian allowed me to combine my love for storytelling, 3D design, and interactive web experiences, fusioning all in one project, showing how far an idea can evolve from paper to a living digital creation, something companies can sometimes use to bring their branding to the next level and reflect the high-quality of the overall customer experience.
Creative Concept
Turning an idea on paper into a clear, visual concept.
3D Modeling
Building the Roman legionary in full 3D from the sketching.
Animation
Adding realistic motion to make the character feel alive.
Web Viewer
Embedding the 3D model in a viewer so users can explore it themselves.
Step 1
Creative Concept Development
— Using Procreate / Krita / ChatGPT
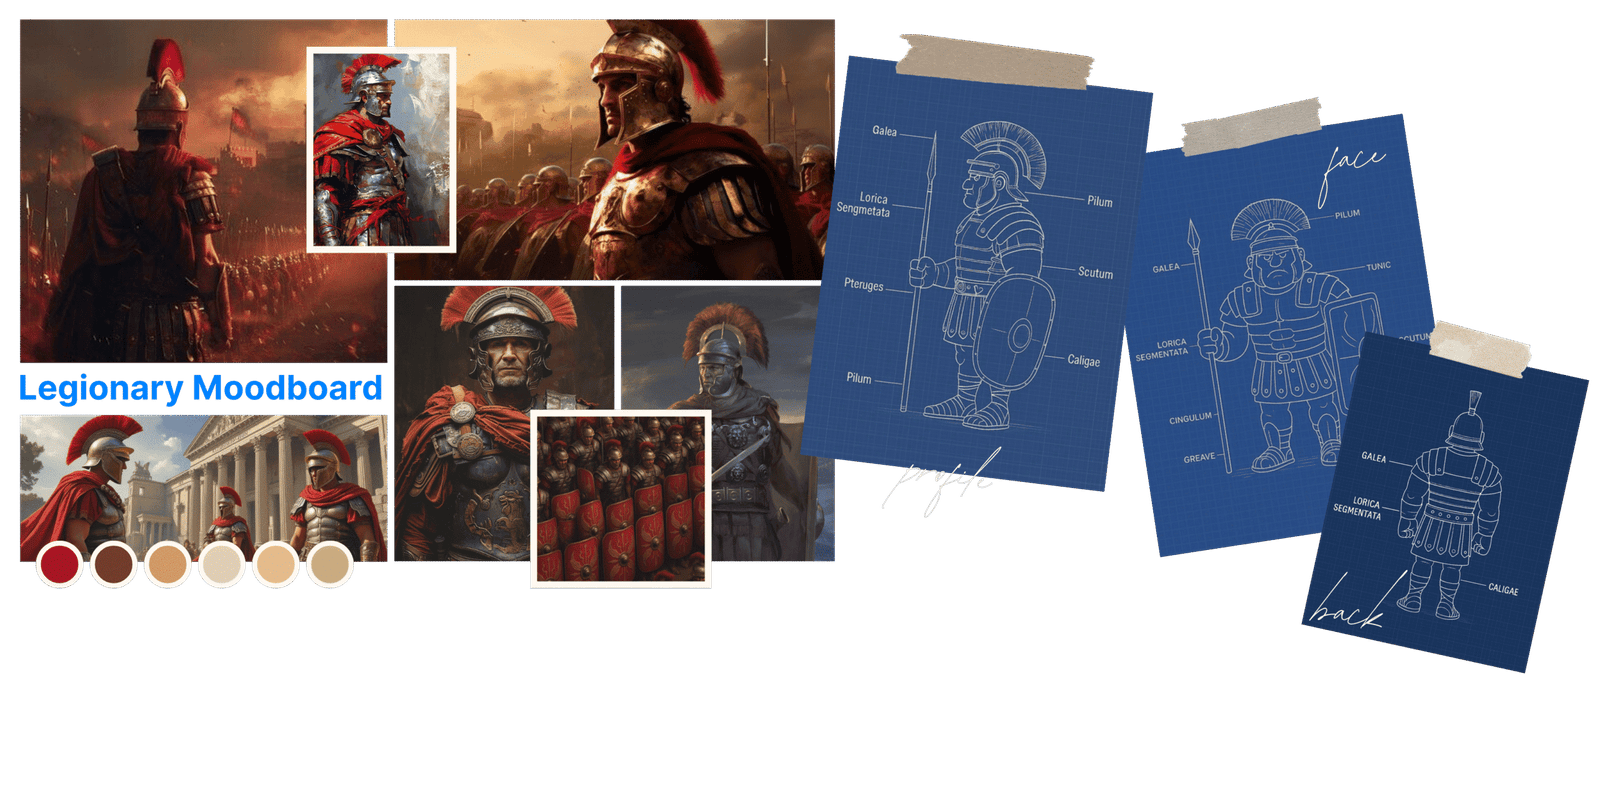
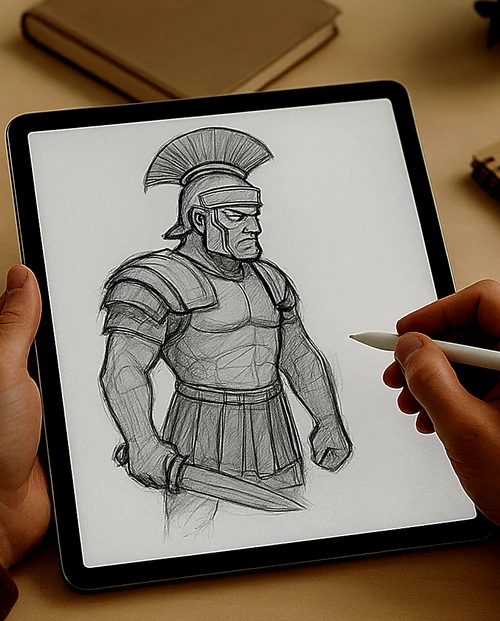
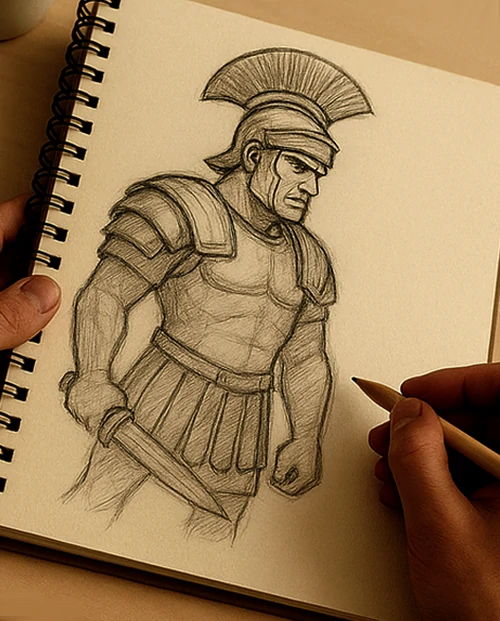
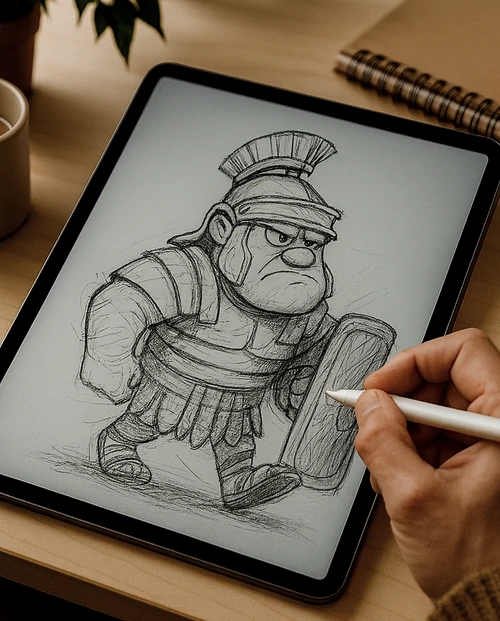
Imagining the character
Depending on the project, I use Procreate on my iPad when I need quick sketching, and Krita when I want a more detailed illustration. For this project, Procreate was all I needed.
I began by gathering inspiration and references on Pinterest to understand how a Roman legionary should look. From there, I drafted a moodboard and started free sketching until the character began to take shape. Once satisfied with the overall form, I focused on defining what made him unique: his mood, his body-shape, weapons, his armor, and his key features. By the end of this step, the Roman legionary was born. I then submitted my character to ChatGPT so the AI can absord it to be able to work with it for the next step.
Step 2
3D Modeling
Using ChatGPT
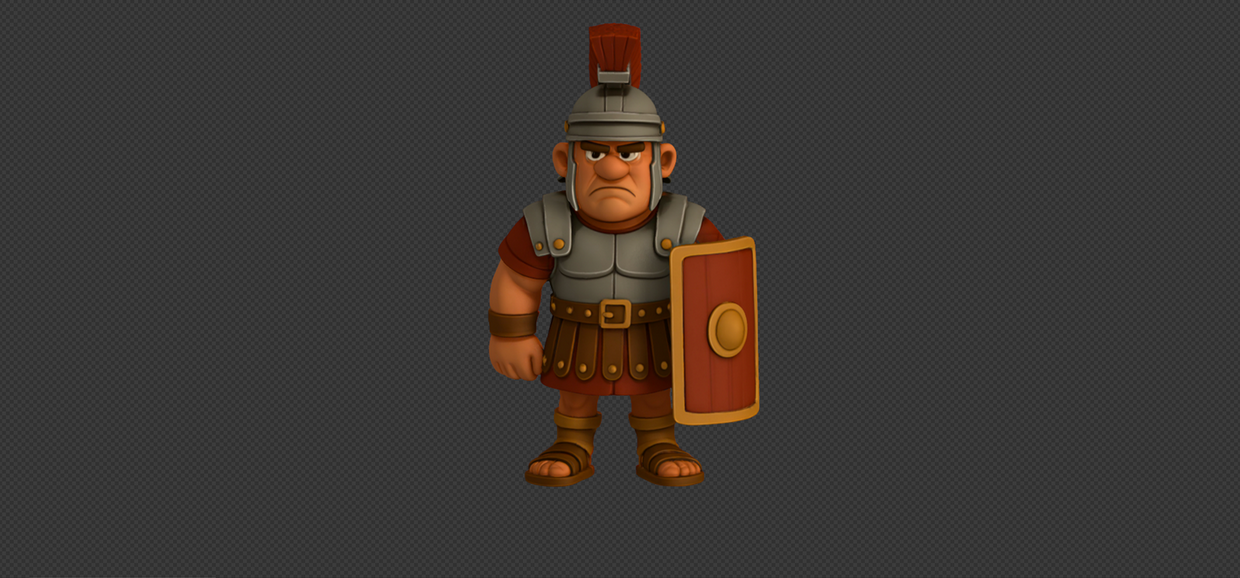
Shaping the character in 3D
For the 3D modeling step, I first used ChatGPT to quickly generate the base structure of the Roman legionary.
I submitted my initial shapes to the AI and carefully adjusted its outputs, paying close attention to proportions so the digital model stayed true to my chosen sketch. I decided to go with a slightly more cartoonish style, well known for being more universal, easier to connect with a broad audience, and generally simpler to adapt into 3D.
I also gave the character a grumpy expression to enhance its personality.
From there, I refined the details step by step: the helmet, the shield, the armor plates, making sure they aligned with the references I had drawn myself. This stage was all about giving the character volume, depth, and presence, transforming him from a flat drawing into a fully realized 3D figure.
Step 3
3D Animation
Using KlingAI
Bringing motion to the character
Once the model was ready, I moved on to animation using KlingAI.
Tools like OpenArt or Artlist could also be used for this step, as many platforms can handle simple motion tasks effectively. For more advanced motion, Blender would be my choice, in case I want to be very precise with the animations I want, working frame by frame, but this type of request is extremely rare. For this project, KlingAI was simply more than enough for what we want to see.
While animation might seem optional, I find it essential before diving deeper into the full 3D modeling stage. Adding movement helps me better understand the character’s shape, proportions, and angles, ensuring the final model feels solid and believable.
My goal here wasn’t to create complex movements, but to add subtle touches that gave the legionary both shape and personality: a natural stance, a slight turning of his head, and small motions that made him feel alive. These simple animations may look modest, but they transform a static figure into a character with presence, almost as if he had stepped straight out of an animated film.
So even though optional, this step plays a crucial role in shaping the final 3D model that will later be embedded in the website.
Step 4
Interactive Web Viewer
For the final step, I created the 3D model with Tripo and Spline, so users can go rotate and explore the character. This project shows how I turn ideas into interactive digital experiences that boost a brand’s value. I picked a complex concept to prove a point: if I can bring a Roman soldier to life, showcasing simpler products like shoes or an interactive smartphone directly on a website, is very easy. Liked what you saw? Let’s team up and build your next game-changing campaign.